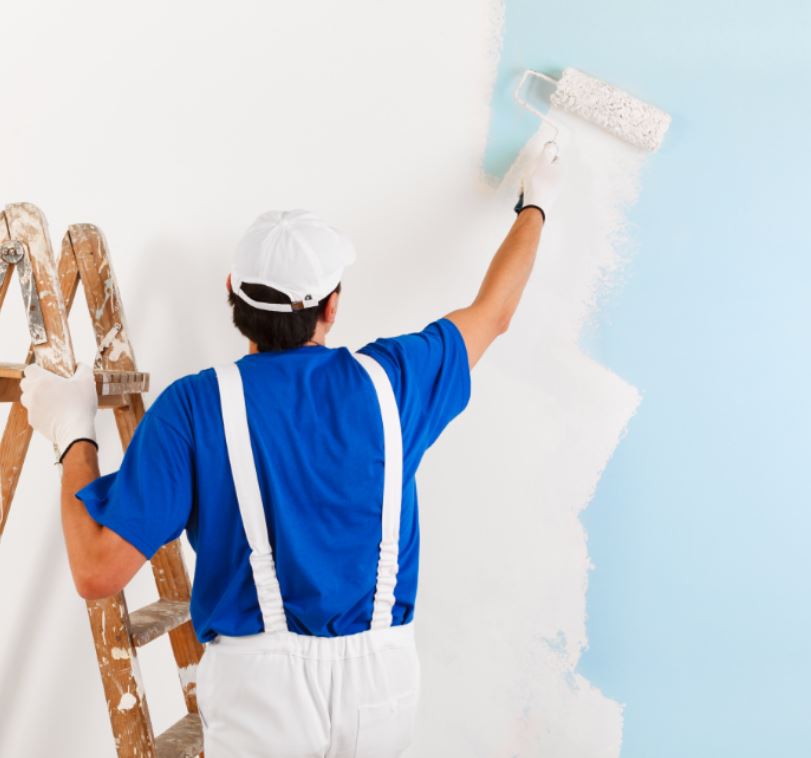
Avoid These 7 Common Mistakes When Painting Your Property
Painting your property—whether it’s your home’s interior, exterior, or a commercial space—can dramatically enhance its appearance and value. However, a poor paint job can lead to peeling, cracking, uneven finishes, and even costly repairs down the line.
To help you achieve a flawless finish, we’ve compiled a list of seven common painting mistakes and how to avoid them. Whether you’re a DIY enthusiast or hiring professionals, steering clear of these errors will ensure a smooth, long-lasting result.
1. Skipping Proper Surface Preparation
The Mistake:
Many people rush into painting without properly preparing the surface. They assume that a fresh coat of paint will cover imperfections, but dirt, grease, cracks, and old flaking paint can ruin the final look.
How to Avoid It:
- Clean the surface – Wash walls with soapy water to remove dust, grime, and grease. For exteriors, pressure washing may be necessary.
- Repair damages – Fill cracks and holes with spackle or caulk, then sand smooth.
- Sand glossy surfaces – If painting over glossy finishes, lightly sand to help the new paint adhere better.
- Prime when needed – Use a primer for bare wood, stained surfaces, or drastic color changes.
Pro Tip: A well-prepped surface ensures better paint adhesion and a smoother finish.
2. Choosing the Wrong Paint Type or Finish
The Mistake:
Not all paints are created equal. Using interior paint outside, opting for the wrong finish (e.g., high-gloss in a high-traffic area), or selecting low-quality paint can lead to premature wear and poor coverage.
How to Avoid It:
- Interior vs. Exterior Paint – Exterior paint is formulated to withstand weather; interior paint is not.
- Pick the right finish:
- Flat/Matte – Hides imperfections but is less durable (best for ceilings).
- Eggshell/Satin – Slight sheen, good for living rooms and bedrooms.
- Semi-Gloss/Gloss – Durable and easy to clean (ideal for kitchens, bathrooms, and trim).
- Invest in quality paint – Cheaper paints may require more coats and wear out faster.
Pro Tip: Always check the label and consult with paint experts if unsure.
3. Ignoring Weather Conditions (For Exterior Painting)
The Mistake:
Painting in extreme heat, cold, or humidity can cause the paint to dry too quickly, bubble, or not adhere properly.
How to Avoid It:
- Avoid painting in:
- High heat (above 90°F/32°C) – Causes paint to dry too fast, leading to cracks.
- Cold temperatures (below 50°F/10°C) – Paint may not cure properly.
- High humidity or rain – Can cause blistering and poor adhesion.
- Check the forecast – Plan painting projects during mild, dry weather.
Pro Tip: Early morning or late afternoon is often the best time for exterior painting.
4. Applying Paint Too Thickly or Too Thinly
The Mistake:
- Too thick – Leads to drips, uneven drying, and cracking.
- Too thin – Results in poor coverage, requiring extra coats.
How to Avoid It:
- Stir paint thoroughly before use to ensure consistency.
- Use the right tools – A high-quality brush or roller helps apply an even coat.
- Follow the “less is more” rule – Apply thin, even coats and allow proper drying time between layers.
Pro Tip: Two thin coats are better than one thick coat!
5. Not Using Painter’s Tape Properly
The Mistake:
Skipping painter’s tape or applying it incorrectly leads to messy edges, bleeding, and uneven lines.
How to Avoid It:
- Use high-quality painter’s tape (e.g., FrogTape for crisp lines).
- Press edges firmly to prevent paint from seeping underneath.
- Remove tape at the right time – Peel it off when the paint is dry to the touch but not fully cured (usually within 1-2 hours).
Pro Tip: For extra sharp edges, run a putty knife along the tape to seal it.
6. Neglecting Proper Ventilation
The Mistake:
Painting in a poorly ventilated area can lead to:
- Fumes buildup (health hazard).
- Slow drying times.
- Uneven finish due to excess moisture.
How to Avoid It:
- Open windows and doors to allow airflow.
- Use fans to circulate air (but avoid blowing dust onto wet paint).
- Wear a mask when sanding or using oil-based paints.
Pro Tip: If painting a large area, take breaks to refresh the air.
7. Rushing the Job (Not Allowing Proper Drying Time)
The Mistake:
Applying a second coat too soon or moving furniture back before the paint fully cures can cause smudges, peeling, and imprints.
How to Avoid It:
- Follow the manufacturer’s drying time (usually 2-4 hours between coats).
- Wait at least 24 hours before reattaching fixtures or placing objects against walls.
- For exteriors, allow at least 48 hours before expecting rain.
Pro Tip: Humidity and temperature affect drying time—be patient!
Final Thoughts
Painting your property doesn’t have to be stressful if you avoid these common mistakes. Proper preparation, the right materials, and patience are key to a professional-looking finish.
Recap of Key Takeaways:
✅ Prep surfaces thoroughly – Clean, repair, and prime.
✅ Choose the right paint – Consider type, finish, and quality.
✅ Mind the weather – Avoid extreme conditions.
✅ Apply paint evenly – Thin coats are better.
✅ Use painter’s tape correctly – For clean edges.
✅ Ensure good ventilation – For safety and drying.
✅ Allow proper drying time – Don’t rush the process.
By following these tips, you’ll achieve a flawless, long-lasting paint job that enhances your property’s beauty and durability.